While investing in your own full in-house EMC test laboratory may seem difficult to justify, most companies should be able to afford to implement some level of pre-compliance testing capability. Outside compliance test labs can cost upwards of $2,000 per day. The advantage of being able to perform some of the key tests in-house is that you can quickly determine whether your product is anywhere close to passing. Identifying “red flags” or problem areas early allows more cost-effective implementation of fixes. Waiting until the end of a product development cycle to determine EMC compliance is always very risky and usually expensive in time and money.
As a consultant, I frequently run into clients that have worked for weeks or months to beat down a radiated emissions problem by repeatedly cycling between their R&D lab and third-party compliance test lab. This is very frustrating for both the designers and their management. By performing some very quick and simple tests, you can identify failures, narrow down the root cause, and try various fixes well before taking the product in for full compliance testing.
Developing Your Own EMI Test Lab
So, what’s involved in developing a basic EMC pre-compliance test lab? It’s not nearly as expensive as you might think. For example, there are only four common test failures I run into regularly: radiated emissions (RE) is always the number one issue, followed by radiated immunity (RI), electrostatic discharge (ESD), and conducted emissions (CE). With few exceptions and assuming a good power line and I/O port filtering, many of the line- or I/O port-related immunity tests are lower risk and usually pass OK. However, some low-end Asian power supplies do have inadequate or non-existent line filtering, and so I’ve added the CE test, which is relatively easy to perform.
Briefly, radiated emissions measures the radiated E-fields emanating from the product, equipment, or system under test. There are worldwide limits on how much these emissions can be, depending on the environment the equipment I designed to work in.
Radiated immunity is a measure of how much external E-fields the product or system can tolerate from external sources like broadcast, cellular phones or two-way radios, etc. Electrostatic discharge is a test to see how immune the product or system is to external static discharges, usually from operators touching keypads or touch screens.
Conducted emissions is a measure of the broadband and narrow band noise conducting out the line cord from switch-mode power supplies.
EMI Troubleshooting versus Pre-Compliance Testing
There’s a difference between general troubleshooting and pre-compliance testing. General troubleshooting is usually performed with a set of probes and a spectrum analyzer. The goal is to identify sources of harmonic energy and determine fixes that reduce the harmonic amplitudes. Here, we’re mainly looking for relative changes.
Pre-compliance testing, on the other hand, attempts to duplicate the way the compliance tests are run to the best ability possible and to compare with actual test limits.
Here is a list of basic equipment required for these four tests:
- Radiated Emissions – While an oscilloscope is very useful for determining rise times and ringing, a spectrum analyzer is really the desired instrument for most EMI troubleshooting and measurement. In addition, you’ll want a set of near-field probes, a current probe, a calibrated (or uncalibrated – see note 1) EMI antenna, and possibly a 20 dB gain broadband pre
amplifier to boost the signal from the probes. - Radiated Immunity – You’ll need an RF generator that can tune the required frequency band and possibly an RF amplifier to boost the signal level.
- Electrostatic Discharge – You’ll need an ESD simulator.
- Conducted Emissions – Conducted emissions testing is performed according to CISPR 11 or 22 and requires a LISN (described above) between the source of AC line (or DC) voltage and the product under test. A spectrum analyzer is connected to the 50-Ohm port and the conducted RF noise voltage is displayed on the analyzer. Different model LISNs are made for either AC or DC supply voltage.
All the above equipment may be purchased on the used market. There is also a new category of “affordable” equipment, as well as lab-quality level equipment, depending on your budget. Generally, most pre-compliance testing does not require very expensive equipment, but you also need to factor in some niceties, such as real-time spectrum analysis for signals that may only appear infrequently or signals, such as wireless communications, that may not display clearly on low-cost swept analyzers. More on this is described in our 2016 Real-Time Spectrum Analyzer Guide (Reference 1). In addition, there may be important reasons to stick with higher-end lab-quality equipment with their higher performance.
I’ll describe the various decisions and tradeoffs in more detail in the article, EMI Troubleshooting – Step-By-Step. I also have a suggested list of basic test equipment on my web site (Reference 2).
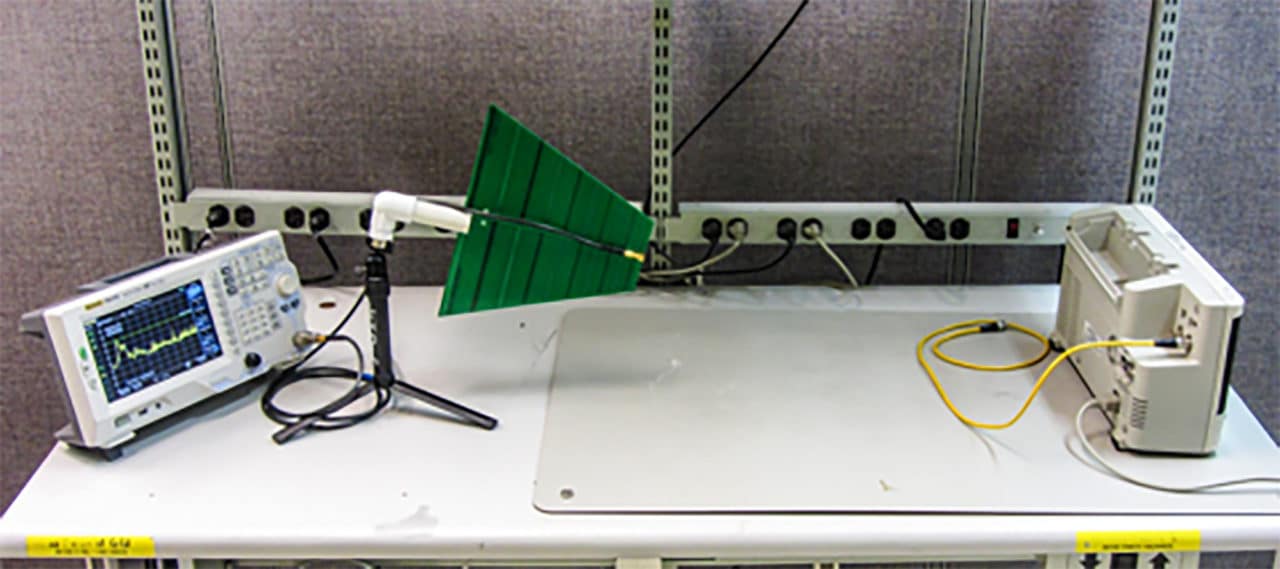
Radiated Emissions Because radiated emissions is usually the most frequent test failure, most of your investment should be focused on this test. Even so, there is a wide range of test investment choices. For example, a basic troubleshooting test setup I use frequently, is merely an uncalibrated receiving antenna positioned at one end of a workbench, connected to a small bench top spectrum analyzer. The product under test is positioned at the other end of the work bench (Figure 1). Cables are attached to the EUT and various troubleshooting techniques are used to help pinpoint product design issues (see EMI Troubleshooting Step-By-Step for recommended procedures).

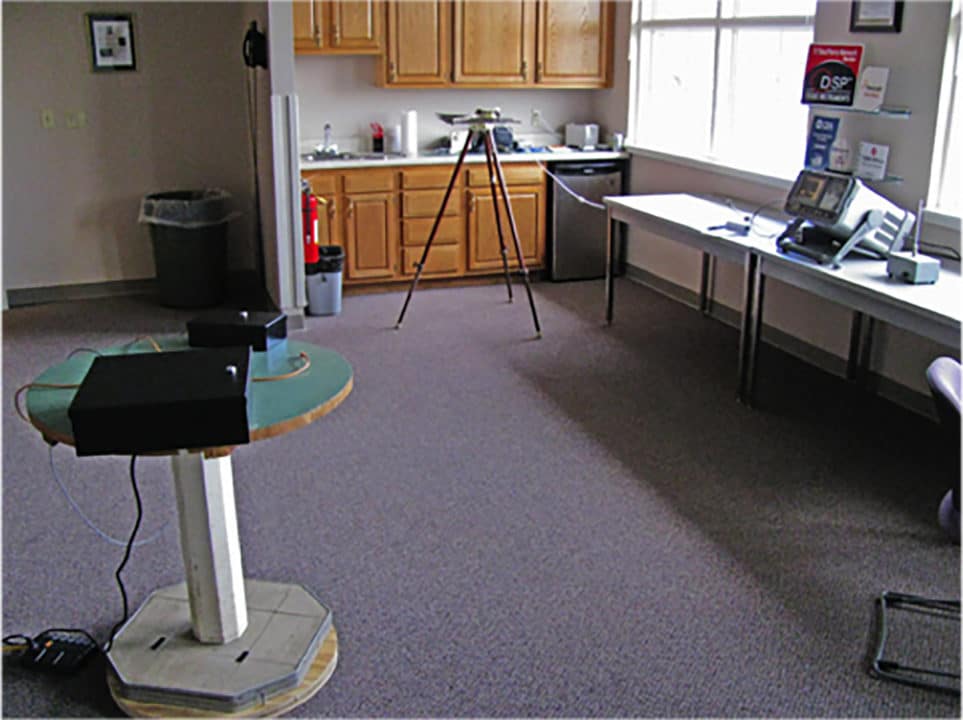
Pre-compliance testing, requires a calibrated EMI antenna positioned either 1m or (better) 3m away from the product under test. This way, you’ll be able to compare the emissions with actual test limits. The test may be set up in any area large enough and far away from other equipment that could interfere with the testing. Sometimes a parking lot is used. I’ve more often used a large conference room (Figure 2). The one big issue in testing outside a shielded semi-anechoic chamber is you must deal with ambient signals – that is transmissions from broadcast radio/TV, cellular transmissions, and two-way radio. Techniques for dealing with these will be described in the next article.

Radiated Immunity
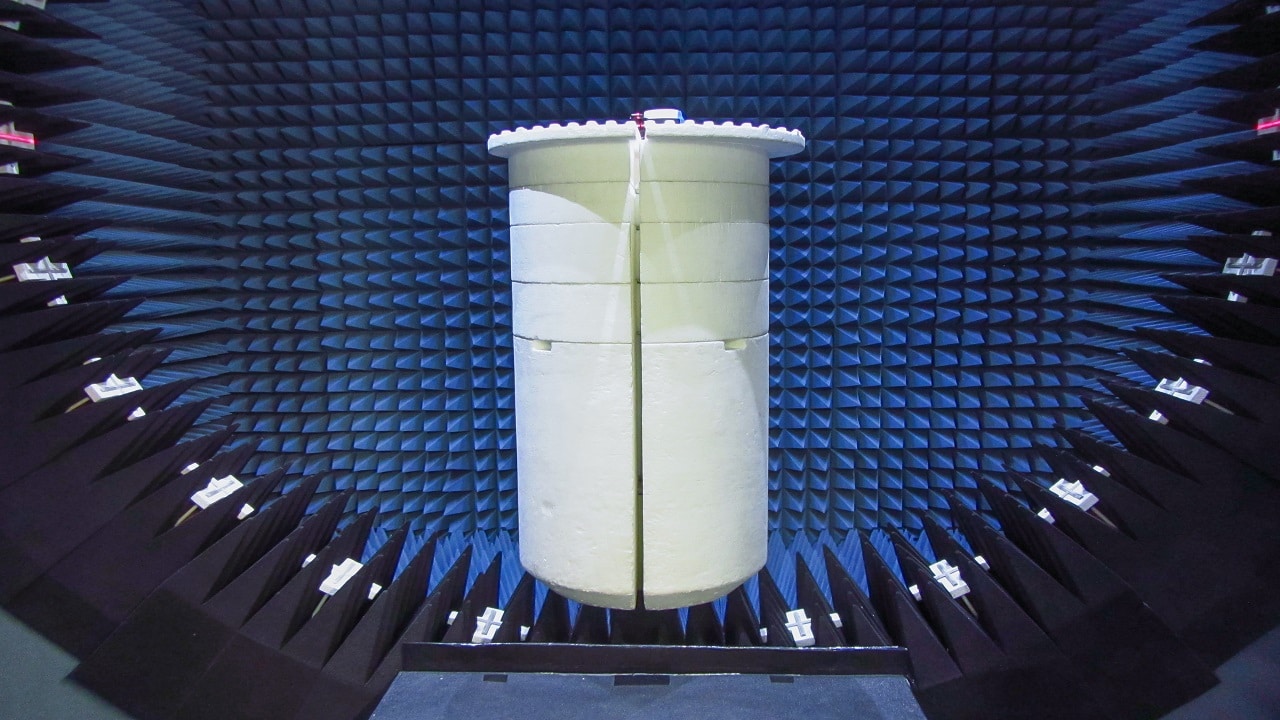
Radiated immunity testing may also be performed using simple troubleshooting techniques or in a shielded semi-anechoic chamber. Most of what I call “pre-compliance” testing is really just using an RF generator and near field probes, or a small Family Radio Service (FRS) license-free walkie-talkie. If the product under test can pass these simple tests, then it’s also likely it will pass the formal tests at test levels of 3V/m or 10 V/m (for commercial/industrial products). Military RI testing will more likely require much higher test levels that fall outside the scope of these simple bench top level tests.

Electrostatic Discharge
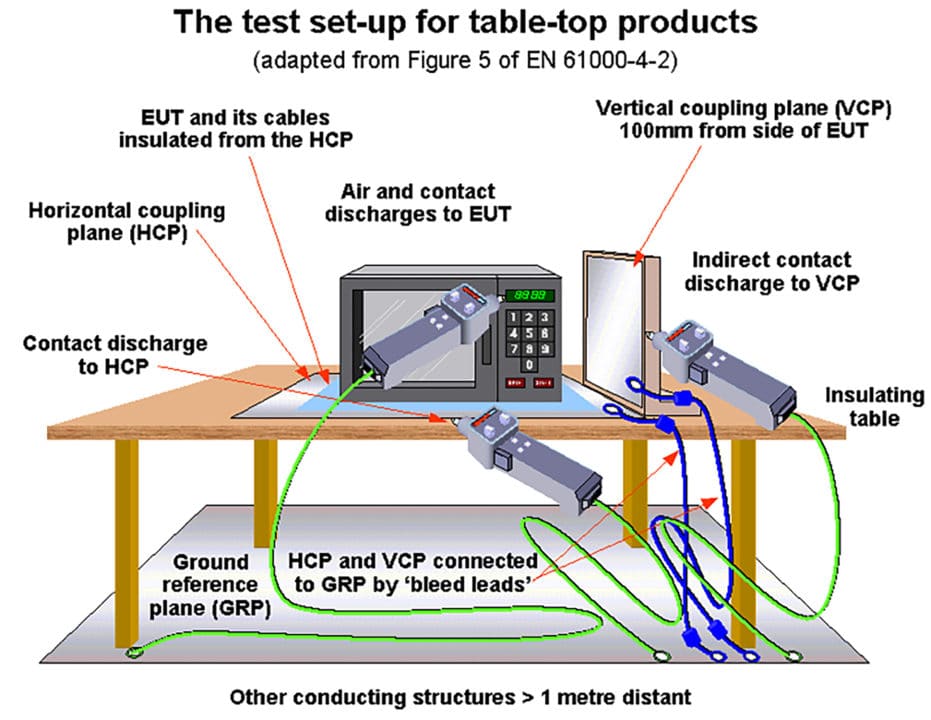
Electrostatic discharge pre-compliance testing can be performed on a work bench, but it’s much better to duplicate the test table and ground planes as specified in the IEC 61000-4-2 test standard. This requires certain table dimensions with a conductive table surface and ground plane of certain size underneath. See Figure 3.
Conducted Emissions
Conducted emissions testing is performed according to CISPR 11 or 22 and requires a LISN (described above) between the source of AC line (or DC) voltage and the product under test. A spectrum analyzer is connected to the 50-Ohm port and the conducted RF noise voltage is displayed on the analyzer. Different model LISNs are made for either AC or DC supply voltage.
Summary
Investing in the equipment required to test and troubleshoot the most likely things that cause test failures is usually well worth the expense. Repeatedly moving back and forth between the R&D lab and compliance test lab can consume weeks of time and lead to project cost overruns.
Note on the Use of External Antennas
Note that there are two distinct goals when using external EMI antennas;
- Relative troubleshooting, where you know areas of failing frequencies and need to reduce their amplitudes. A calibrated antenna is not required, as only relative changes are important. The antenna also does not necessarily need to be tuned to the frequency of the harmonics. Almost any “hunk of metal” connected to the spectrum analyzer should work. The important thing is that harmonic content from the EUT should be easily visible.
- Pre-compliance testing, where you wish to duplicate the test setup as used by the compliance test lab. That is, setting up a calibrated antenna 3m or 10m away from the product or system under test and determining in advance whether you’re passing or failing.
References
- Real-Time Spectrum Analyzer Guide – http://learn. interferencetechnology.com/2016-real-time-spectrum-analyzer-guide/
- List of recommended equipment – http://www. emc-seminars.com/EMI_Troubleshooting_Equipment_List-Wyatt.pdf


